Step-by-Step Guide to Tape-In Hair Extensions
Tape-in hair extensions have become a popular choice for those seeking added length and volume without the commitment of permanent methods. These semi-permanent extensions consist of thin wefts attached using medical-grade adhesive tape. The application process is designed to be gentle on natural hair, as no heat or harsh chemicals are involved. Stylists typically rely on precise sectioning and placement to achieve a seamless blend.
This article provides a step-by-step overview of how tape-in extensions are applied. From preparation through to finishing touches, the focus is on the methodology and techniques used by professionals. Understanding these steps can help clients and aspiring stylists appreciate the careful process involved. It is important to note that individual results may vary depending on hair type, condition, and the expertise of the stylist.
The following sections outline the key stages of a tape-in extension application. The process described here reflects general industry practices and is intended for informational purposes. Those considering tape-in extensions are encouraged to consult a qualified professional for personalized guidance.
Understanding Tape-In Hair Extensions
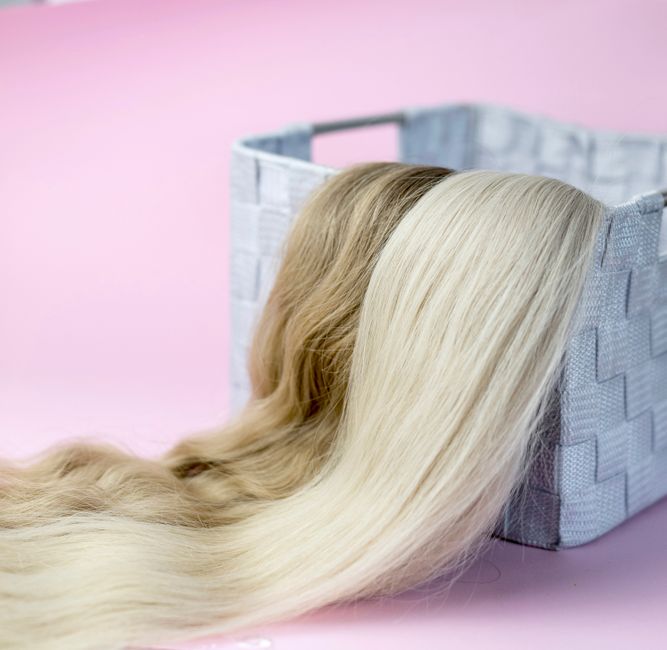
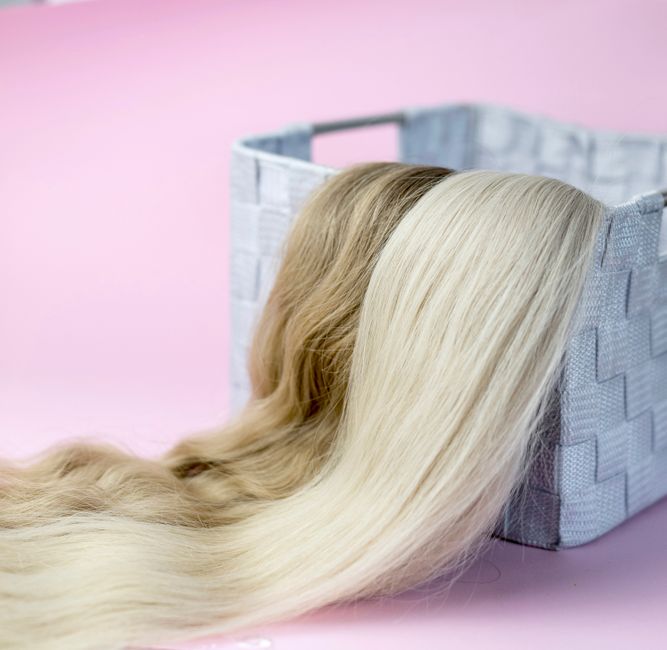
Tape-in wefts are typically made from 100% human hair or high-quality synthetic fibers. Each weft is pre-taped with a thin strip of adhesive that is activated by pressure. The wefts are usually about 1.5 inches wide and come in various colors and lengths. The adhesive used is designed to be gentle on the hair shaft and scalp, allowing for a comfortable wear period of six to eight weeks before a maintenance appointment is needed.
One of the key characteristics of tape-in extensions is their lightweight feel. Because the wefts are flat and lie close to the scalp, they do not create significant tension on the natural hair. This makes them a suitable option for many hair types, provided the natural hair has sufficient strength to support the added weight. The semi-permanent nature of these extensions also allows for reusability; with proper care, the same wefts can be reapplied multiple times.
Preparatory Steps and Sectioning
Before any adhesive touches the hair, the stylist must ensure the hair is clean, completely dry, and free of any product buildup. Oils, conditioners, or styling products can interfere with the tape’s ability to bond. The hair is typically washed with a clarifying shampoo and dried thoroughly. A thorough brush-out is then performed to remove any tangles, ensuring a smooth surface for application.
Sectioning is one of the most critical steps in the process. The stylist creates horizontal partings from the nape of the neck upward, using clips to isolate each section. The size of each section is determined by the width of the weft and the thickness of the natural hair. A common approach is to take a section that is slightly thinner than the weft itself, so the extension can be sandwiched between two layers of natural hair. The sections are typically about half an inch to one inch apart, depending on the desired density.
Accurate sectioning helps conceal the attachment points and prevents the extensions from becoming visible. Stylists often use a tail comb to create clean, straight partings. The pattern may vary slightly based on the client’s head shape and hair growth patterns, but the underlying goal remains the same: to create a foundation that allows the extensions to blend without obvious seams.
Step-by-Step Application
With the hair sectioned and ready, the stylist begins applying the extensions row by row, starting at the nape. The process follows a sandwich technique: a weft is peeled from its backing and placed directly under the natural hair section, with the adhesive side facing upward. A second weft is then placed on top of the same section, with its adhesive side facing downward, effectively sandwiching the natural hair between two tapes.
The stylist carefully positions the wefts so that the top edge is approximately one centimeter away from the scalp. This distance allows room for natural hair growth and prevents the adhesive from coming into contact with the scalp, which could cause discomfort. Once positioned, the stylist presses the wefts together firmly with their fingers, activating the adhesive. Some stylists may use a special tool to ensure even pressure, but manual pressing is common.
This process is repeated for each section, moving upward from the nape to the crown. The direction of the wefts may be alternated slightly to follow the natural hair pattern, but the majority are placed horizontally. Care is taken to avoid overlapping extensions, as this can create bulk and lead to matting. After all wefts are applied, the stylist runs their fingers through the hair to check for evenness and alignment.
Achieving a Seamless Blend
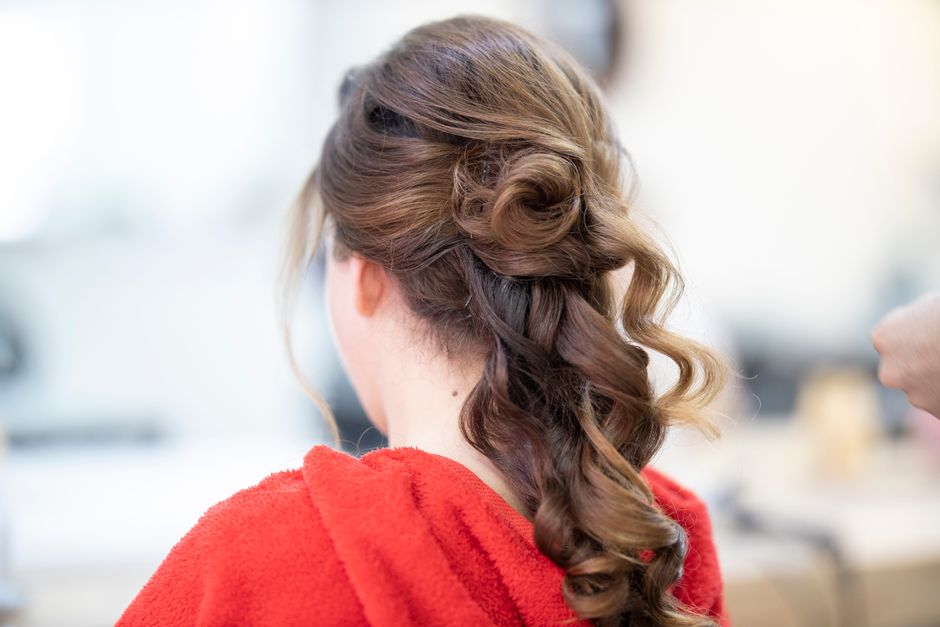
Once the extensions are in place, the blending step begins. The natural hair and extensions are typically cut together to create a cohesive shape. This might involve texturizing the ends, removing any blunt lines, and integrating layers to match the client’s existing haircut. The goal is to make the transition between the natural hair and the extensions undetectable when the hair is down or styled.
Blending also involves styling the hair using heat tools such as curling irons or flat irons. The extensions can withstand heat up to a certain temperature, so the stylist adjusts their tools accordingly. Blow-drying the hair smoothly helps the extensions lie flat and minimizes any ridge where the tape is attached. For clients with fine hair, the stylist may use additional techniques like point cutting to soften the ends.
Color matching is another aspect of blending. Wefts should be chosen to match the client’s natural hair color as closely as possible. If needed, the stylist can apply color to the extensions or mix wefts of different shades to create dimension. However, any coloring should be done by a professional to avoid damaging the adhesive.
Aftercare and Maintenance
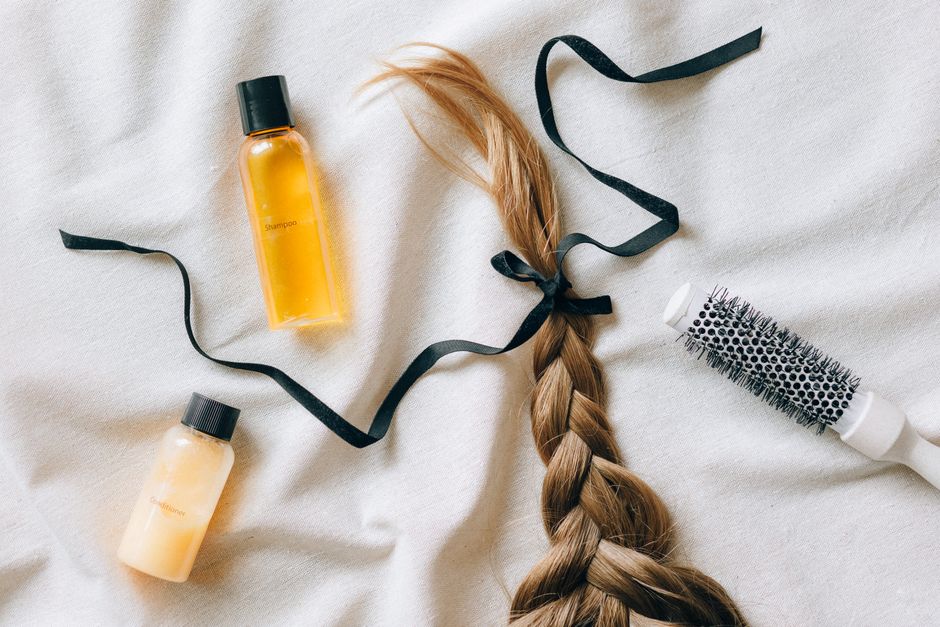
Proper aftercare plays a significant role in how long tape-in extensions remain secure and in good condition. The adhesive is sensitive to oils and heavy conditioners, so a sulfate-free, lightweight shampoo and conditioner are typically recommended. Washing should be done gently, avoiding scrubbing the tape bonds. It is also advisable to let the hair air-dry or use a low heat setting when blow-drying.
Brushing techniques differ from natural hair care. A soft bristle brush or a wide-tooth comb is preferred, and the hair should be brushed from the ends upward, holding the roots near the tapes to avoid pulling. Sleeping with the hair in a loose braid or ponytail can reduce tangling. Additionally, products containing alcohol or oil should be kept away from the adhesive area.
Regular salon visits are necessary to maintain the extensions. As natural hair grows, the tapes will move away from the scalp. Every six to eight weeks, the extensions need to be removed, cleaned, and reapplied. The wefts can typically be reused two to three times before the adhesive loses its effectiveness. Professional removal is essential to avoid pulling on the natural hair or causing breakage.